How to Send Messages and Create Templates
22 steps
1
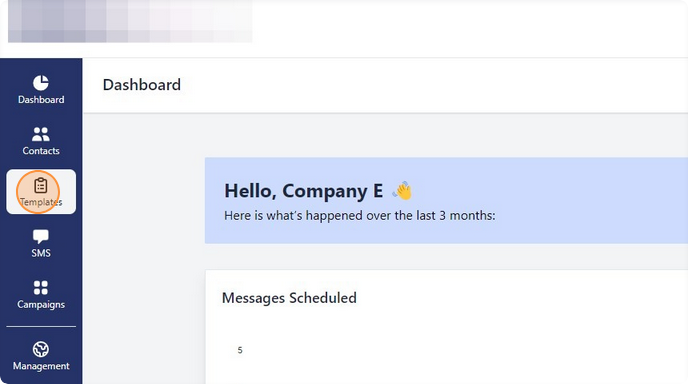
Select "Templates" from the toolbar on the left hand side.
Creating a Template
2
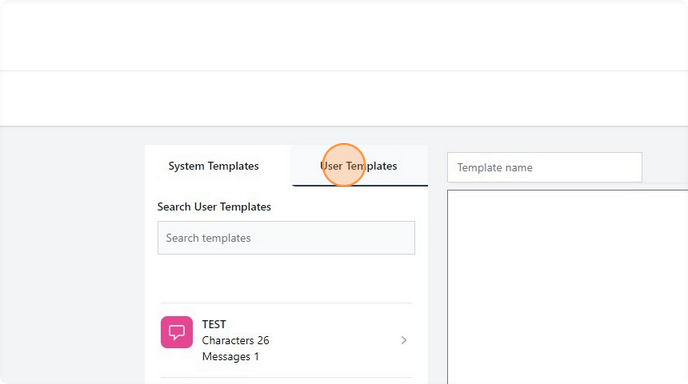
Click "User Templates." This contains all templates that have been created by the department you are currently in.
3
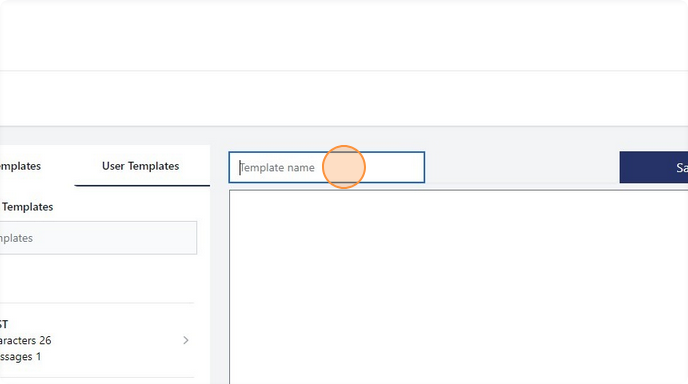
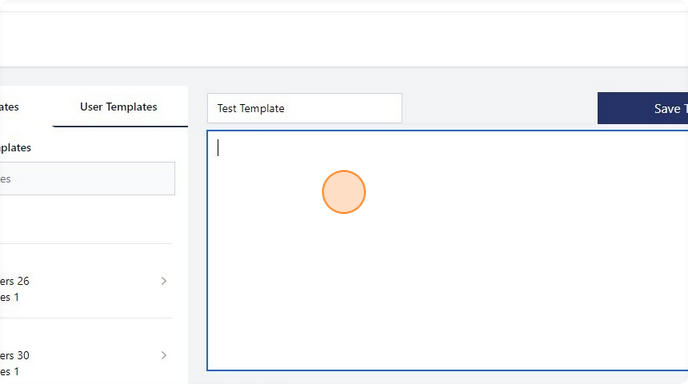
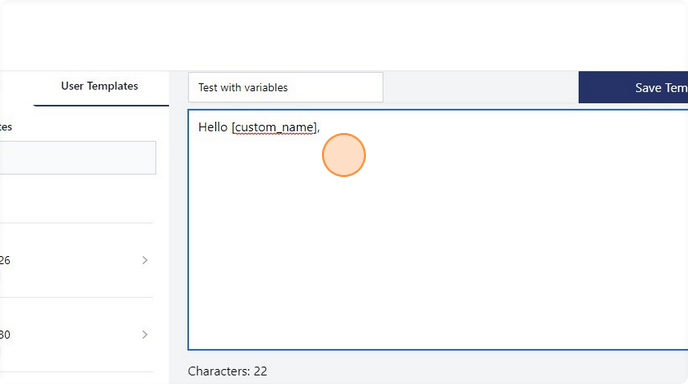
Click the "Template name" field and give the template a friendly name you can refer back to.
4
Type out your message in the text field below.
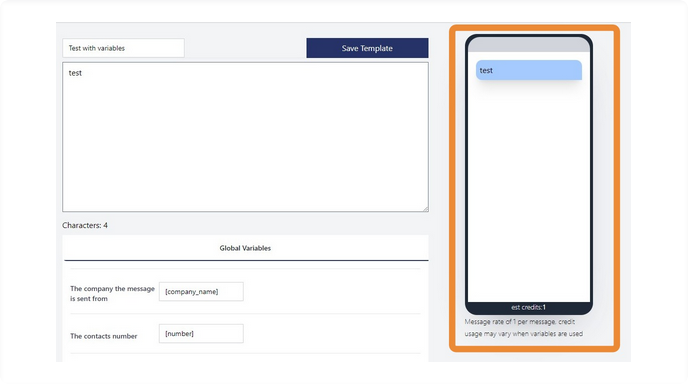
5
Messages are visually displayed on a screen on the right hand side, this is a representation of what the message will look like once received by your contacts.
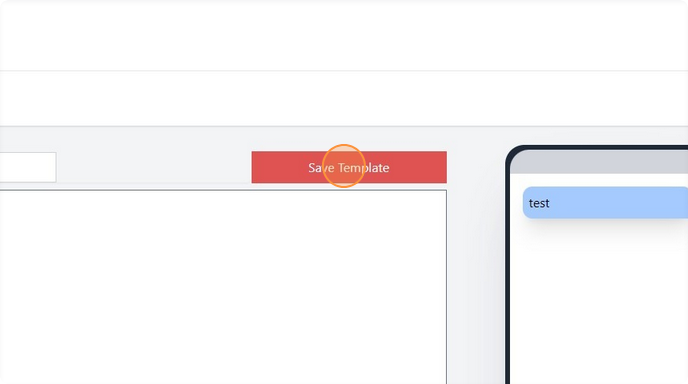
6
Click "Save Template."
Using variables (custom contact fields) in messages
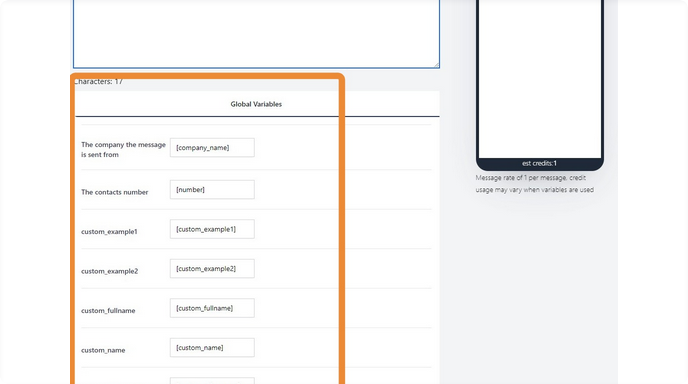
7
"Global Variables" found underneath the template text box will contain all custom fields that can be used as variables in the system.
8
Select and copy the variable you wish to place in your message.
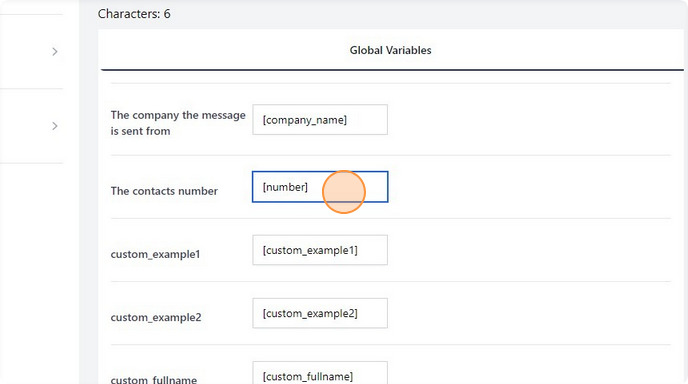
9
Paste the variable, including the square brackets, into the text field.
Scheduling Campaigns (sending messages)
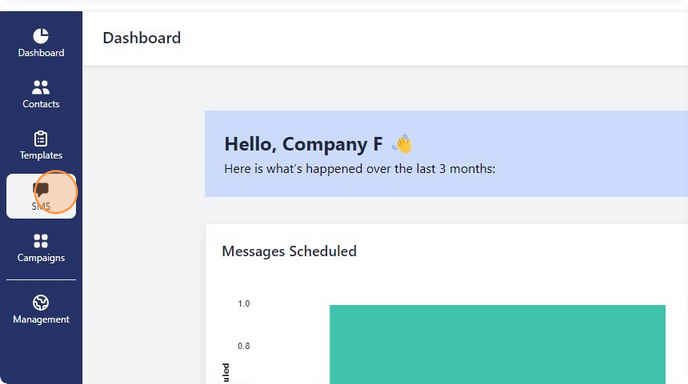
10
Select "SMS" from the toolbar on the left hand side.
11
Select the Sender ID you wish to use for this message.
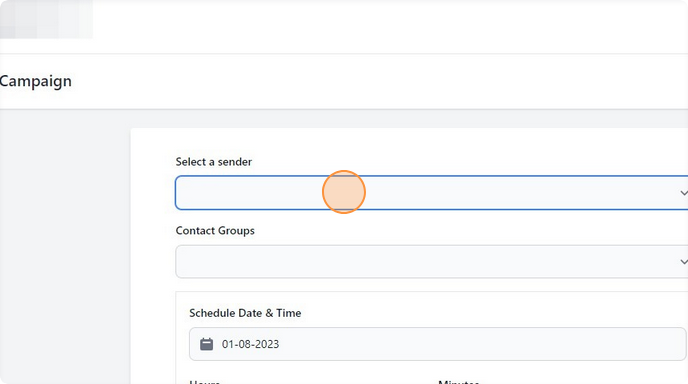
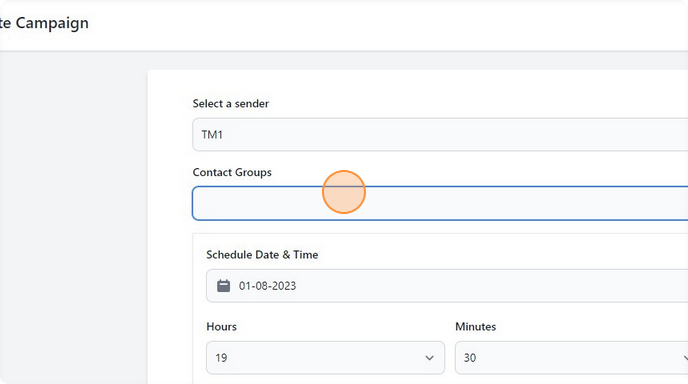
12
Select the group that contains the contacts you wish to send the message to.
13
Select the date you wish to send the message on.
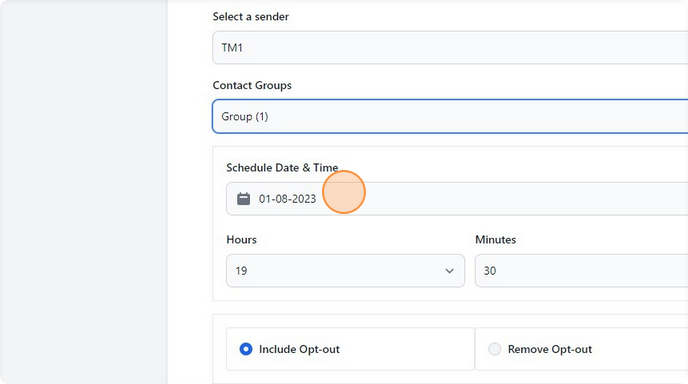
14
Select the Hours and Minutes for the time you wish the message to be sent on.

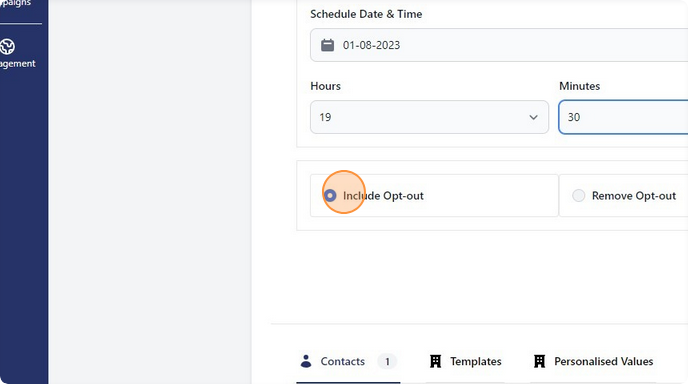
15
Select "Include Opt-out" or "Remove Opt-out" depending on whether you wish contacts to opt-out of future messages.
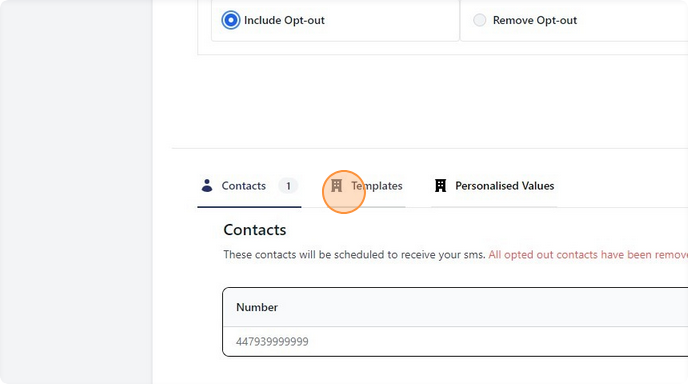
16
Select "Templates" to choose one of your previously created message templates, or type your message into the text box above.
17
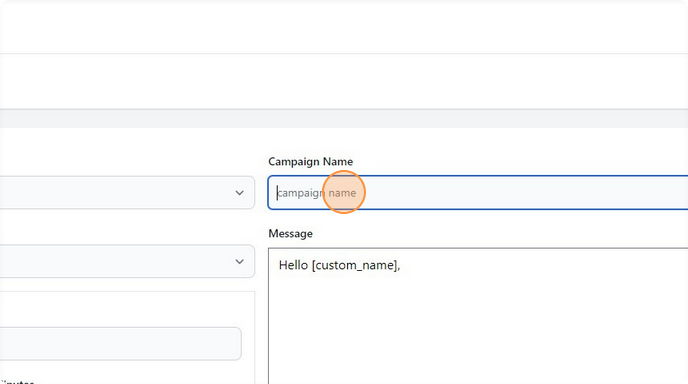
Give your campaign a name in the "Campaign Name" field.
This enables you to identify your campaigns under the campaign page in the toolbar.
18
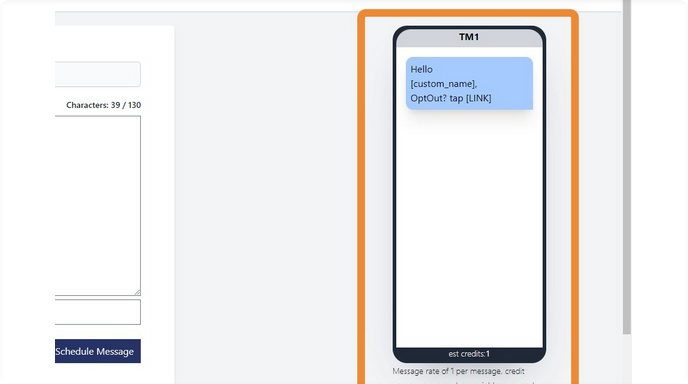
The screen on the right hand side will provide you with a visual representation of the message that contacts will receive.
19
The amount of characters used in your message is displayed in the top right corner of the message text box. Note that this will include your 'Opt-Out' message if you decided to include it in this campaign.

20
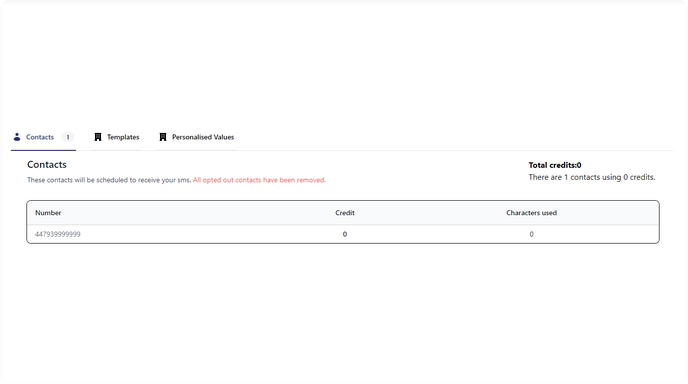
The contacts list below the text box will give you an insight into how many credits each contact will use and how many characters each contact consumes.
Contacts can consume different amount of characters if variables are used. For example, contact 1 might have a longer "Full Name" than contact 2.
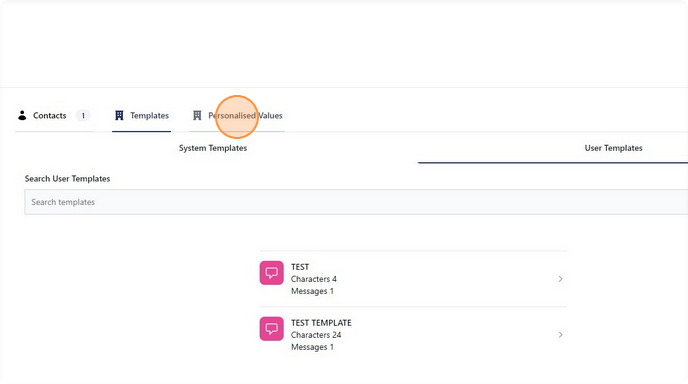
21
Select "Personalised Values" to view custom variables, similar to how you accessed them on the templates page. These can by pasted into the message box.
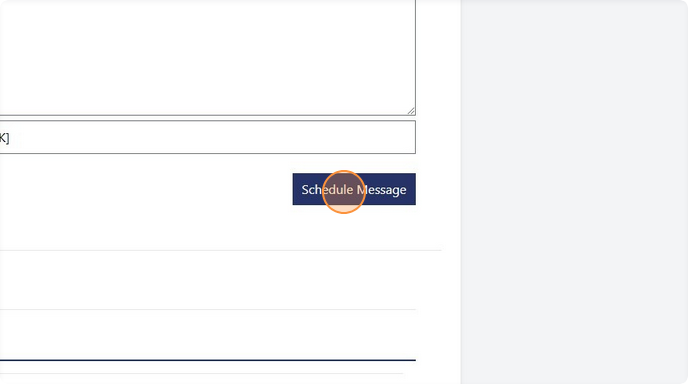
22
Select "Schedule Message" to schedule your campaign.
Your message will now be sent on the date and time you specified.